Deliciously resourceful
Sorry I haven't been around for a while! I've finished my research rotation and now I am on a "real" rotation - Radiology. Last month I didn't have to go in until 9:00 and I left around 2:30 (it was great). Radiology actually has pretty good hours, but I do have to wake up around 6:00 so I can get in by 7:45 and my sleep schedule is alllll messed up from last month. I haven't been asleep before midnight all week, so I am pretty tired. It doesn't make it any better that my rotation calls for sitting in a dark room for hours at a time. Radiologists are some of the smartest doctors I've met, but boy, this rotation is soooooooo boring! It feels like time stops when I am at work. It's sorta miserable.
Anyways, I haven't been cooking much this week just because I feel sort of crappy, but I do have this recipe saved up. I cooked this for Mike last Friday before he left for Indianapolis. I wanted to cook one of my staples, lemon-herb chicken (which will be posted in the near future!). But... we didn't have any lemon and it would have been ridiculous for me to run to the grocery store for just one lemon. So I looked around the kitchen and I saw that I had a block of Parmigiano Reggiano and half of a stale baguette leftover from Bruschetta, which lead me to this recipe! I was actually looking for breadcrumbs, but Mikey didn't have any so I made them from the baguette - and it was the best idea ever. It made the chicken so crispy. Sometimes I think that packaged breadcrumbs can be kind of dense and they can absorb more oil than I would like. Quick story - over our 3 years together, I have slowly transformed his kitchen from a typical man kitchen (beer, mismatched plates, and a Foreman grill) to a somewhat usable kitchen by bringing a chef's knife and lots of utensils and tools, but I haven't come around to bringing a blender or a food processor. So I was a little ghetto when I made the breadcrumbs because I had to pound them with a meat mallet! You gotta do what you gotta do when you're hungry :)
 |
|
In addition to making fresh breadcrumbs, I like to grate my own cheese with a Microplane. The Microplane is one of my favorite kitchen instruments! You should pick one up if you love to cook. It makes a wonderful fluffy cloud of cheese that will keep the coating light.
This recipe is pretty versatile. You could probably use panko breadcrumbs. Or mix up the herbs (I used thyme). Or even use some other kind of cheese. I'm all about adjusting recipes depending on what's around the house - we Vietnamese are resourceful! Anyways, I hope you all enjoy the recipe.
P.S. This isn't the most healthy recipe (it's pan fried in olive oil) since I wanted to treat Mikey before he left, but you can easily cut down on the fat by baking the chicken. I guess I would cook at 350-375 degrees for 10-15 minutes, or until the chicken is no longer pink when cut.
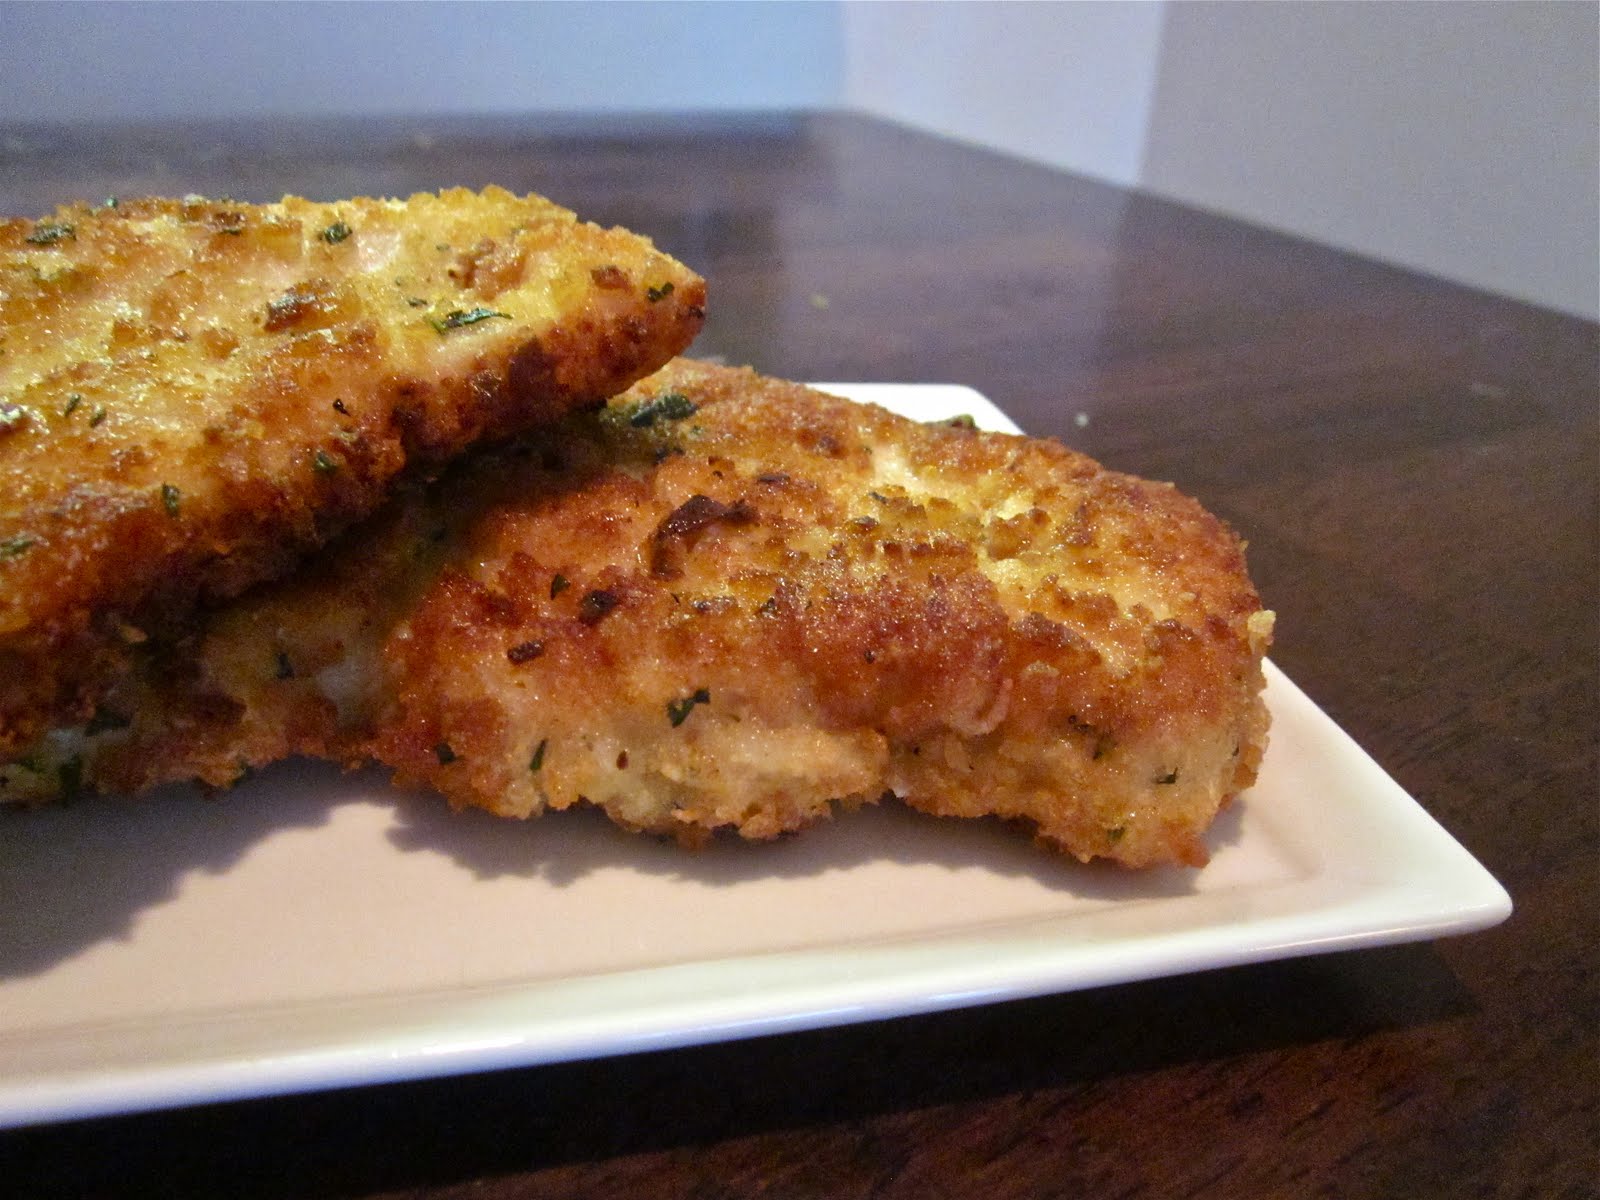
Parmesan-herb crusted chicken
 Serves 4
Ingredients
1/4 cup flour
2 eggs
1 tablespoon fresh thyme, finely chopped
1 tablespoon fresh rosemary, finely chopped
1 cup fresh breadcrumbs*
2 tablespoons garlic, minced
1 cup grated Parmigiano Reggiano cheese
4 skinless, boneless chicken breast halves, pounded 1/4-inch thick
4 tablespoons olive oil
Salt and freshly ground black pepper
Directions:
1. Season chicken cutlets with salt and freshly ground black pepper. Use about half of the salt that you would usually use, since you will be coating with Parmigiano Reggiano later.
2. Gather 3 shallow dishes. In the first dish, place the flour. In the second dish, beat 2 eggs. In the third dish, combine the thyme, rosemary, breadcrumbs, garlic, and cheese.
3. Heat 2 tablespoons of olive oil on medium-high heat. While oil is heating up, coat chicken - first in flour, then in egg, finally in breadcrumb-herb-cheese mixture. Between each step, make sure you shake the cutlets off so they are not over-coated.
4. Cook the cutlets, two at a time, for about 3-4 minutes per side (or until golden brown). Repeat with the remaining olive oil and cutlets.
*Fresh breadcrumbs can be replaced by dried breadcrumbs, but they can be dense. Here's an easy way to make fresh breadcrumbs that only takes 10 minutes! Take about a quarter of a day old baguette and slice into very thin (1/4 inch or less if you can) slices. Place in a 250 degree oven for 10 minutes, or until the slices are crisp all the way though. Try not to brown them too much. The thinner you slice the baguette, the faster it will crisp. Cool for a minute or so and then pulse in a food processor. Voila! Fresh breadcrumbs :)
Here's the entire meal we had that night. I'll post the rest of the recipes soon. Sorry the pictures aren't great but we were hungry and it smelled so good so I took the pictures in a hurry. Goodbye for now, loves!
xoxo <3
Nhu-Y


 Ghetto Lo Mein

 Fettuccine Alfredo (adapted from Simply Recipes)


 Ginger-Soy Salmon


 Serves 4


